
In the computer world, OpenCV is the best library for computer vision and image processing tasks to execute operations as per desired applications. We can manipulate images and videos using the OpenCV library.
imshow() helps to show an image or NumPy array in the form of images. This method works with existing as well as non-existing images.
In non-existing images in your current directory, we need to think about only the file structure, which we’ll discuss further in this article. Let's stick to our topic headline.
Step 1:- Setup the environment
To setup the environment you need to have
Python installed in your system
Install OpenCV library
Install Numpy library
Install Jupyter notebook
I am assuming learners already have installed these dependencies in their systems.
For this and upcoming topics we are going to use Jupyter notebook.
Step 2:- Open your Jupyter notebook by simply using the command in your terminal
Command:- Jupyter notebook
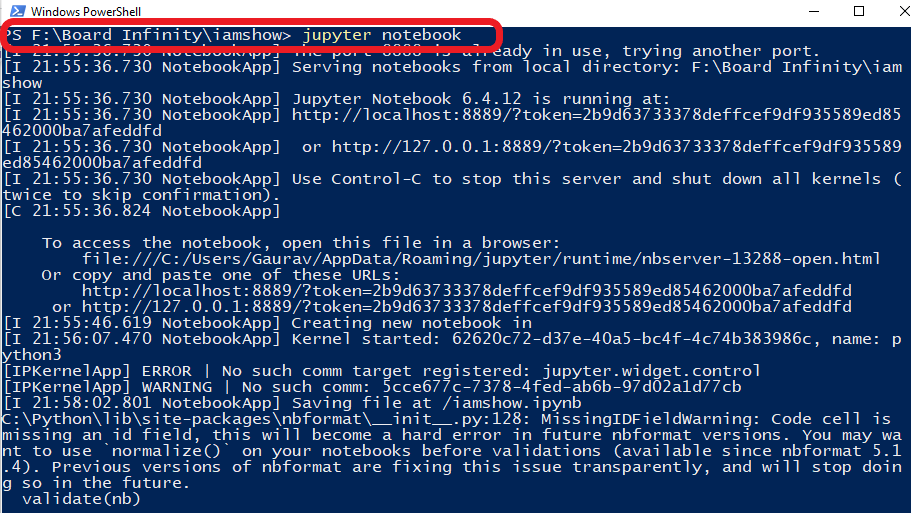
It will prompt a new window with your Jupyter environment shown below

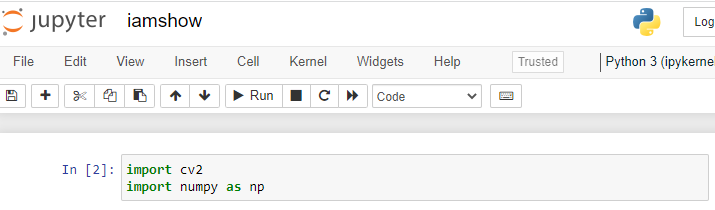
Step 3:- Import the library by using the command shown below
To show any image we have two states
The image does not exist in your system
The image exists in your system
We’ll discuss both scenarios one by one,
The image does not exist in your system
Let's assume an image does not exist in your system and to show any image using this method, you should have a matrix because OpenCV uses a matrix array to render the output images.
To create a matrix we should have = NumPy library
For that, we’ll import numpy in our jupyter notebook, because we have already installed that library we just need to import it as shown below.

Code:- matx = np.zeros((200,200)).
It shows the dimension of no. of pixels of images, as we know that color intensity has a value from (0 - 255)

Syntax: cv2.imshow(window_name, image)
In our example above image
Window_name = “zeros matx”
Image = matx
Parameters:
window_name: A string representing the name of the window in which the image to be displayed.
image: It is the image that is to be displayed.
Return Value: It doesn’t return anything.
Step 4:- Render the image output.
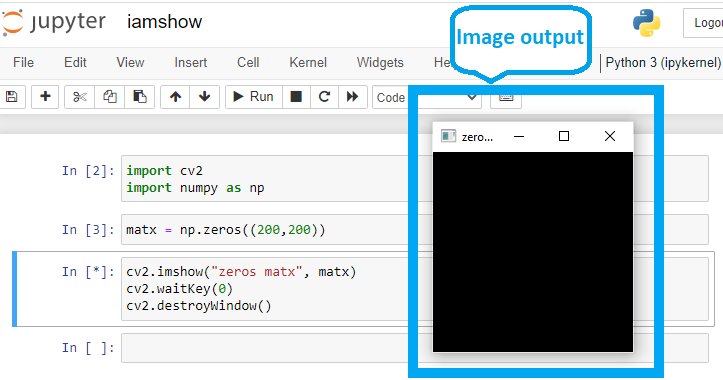
In the above image, the output image is black because we have not taken any image instead we created a NumPy array matrix with a specific dimension, and by default it stores the “0” value of pixels as it defines the black color in the range of shades from 0 - 255
A window can be displayed in Python OpenCV for a specified length of time or until a key is pressed by using the wait key() function.
It takes time in milliseconds as a parameter and waits for the given time to destroy the window, if 0 is passed in the argument it waits till any key is pressed.
Upon exiting Python OpenCV scripts, users can destroy or close all windows at any time with destroyAllWindows(). You would use this function to close multiple windows that you have open at the same time. No parameters are required and nothing is returned. destroyWindow(), destroys only one specific window unlike destroyAllWindows(), which destroys all the windows in your computer.
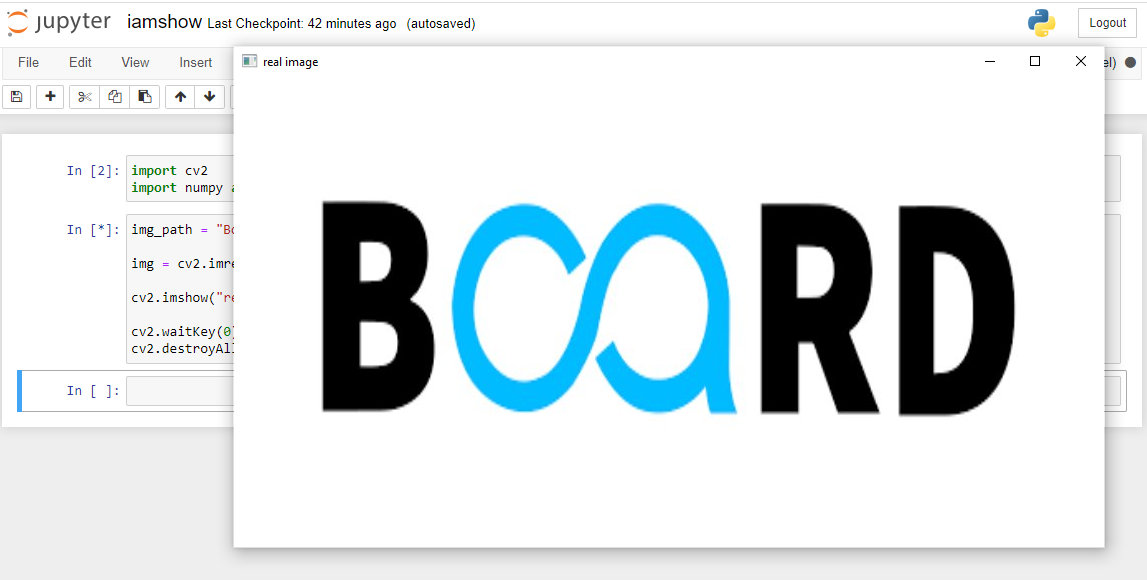
The image exists in your system
To work with existing images in your directory, we need to use cv2.imread(). It takes two parameters (Path, flag).
In this section, we’ll use only the path and left flag as the default value.
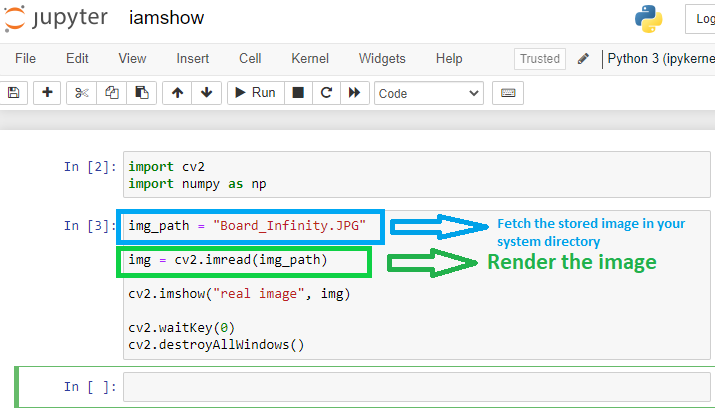
To do image processing this method is the first step to cascade the other operation. And we can use this function to show multiple outputs of the same image just by changing small syntax.
Code:-


0 Comments