
Image processing and computer vision are performed using OpenCV libraries. It has a modular structure which means it has several shared and static libraries used for the same.
Today in this article we are going to learn what and How cv2.imwrite() is used in OpenCV.
imwrite() is used to save images after completing certain operations during image processing tasks for computer vision applications or programs. We can also use it to change the extension of an image file. This method takes two parameters to execute its operation.
Syntax: cv2.imwrite(filename, image)
*// instead of filename we can provide a File path under inverted commas (“ ”).
Parameters:
filename: A string representing the file name. The filename must include image formats like .jpg, .png, etc.
image: It is the image that is to be saved.
Return Value: It returns true if the image is saved successfully.
Step 1:- Setup the environment
To set up the environment you need to have
Python installed in your system
Install OpenCV library
Install Numpy library
Install Jupyter notebook
I am assuming learners already have installed these dependencies in their systems.
For this and upcoming topics we are going to use Jupyter notebook.

Step 2:- Open your Jupyter notebook by simply using the command in your terminal
Command:- Jupyter notebook
It will prompt a new window with your Jupyter environment shown below
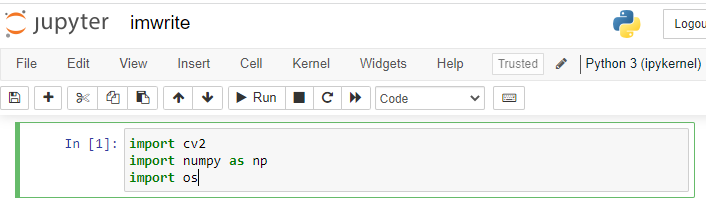
Step 3:- Import the library by using the command shown below
To write any image we have two states
File does not exist in your system
File (video or image with different extension) exists in your system
File does not exist in your system
If the file does not exist in your system then we use a NumPy function
Syntax = random.randint(low, high=None, size=None, dtype=int)
This function will create a random NumPy array which creates the file to become an image for storage as shown below
Step 4:- create a random NumPy array matrix to create the image and store it
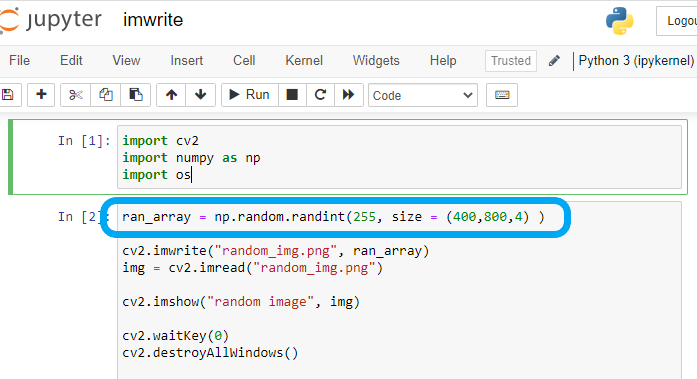
This method will store your image in your current working directory as random_img.png if you don't define a path.
Now to check whether our image is being created and saved or not we use two more methods for verification.
cv2.imread() // it is used to read the saved file
cv2.imshow() // it is used to render the save and display that image.
Step 5:- Verify the image stored
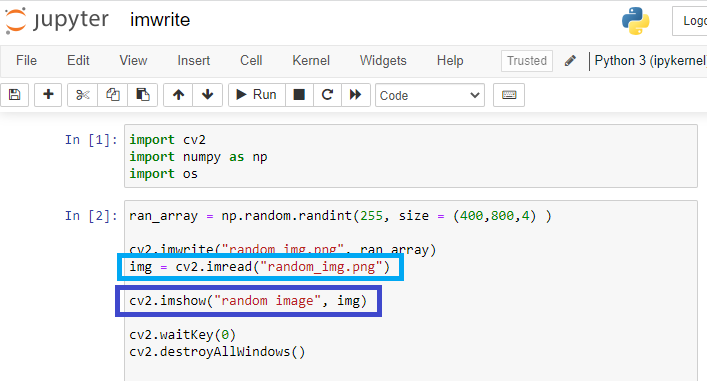
As soon as your code executes it will prompt a new window with an output image that has been created using a random NumPy array and stored by using imwrite() in your current working directory.


File (video or image with different extension) exist in your system
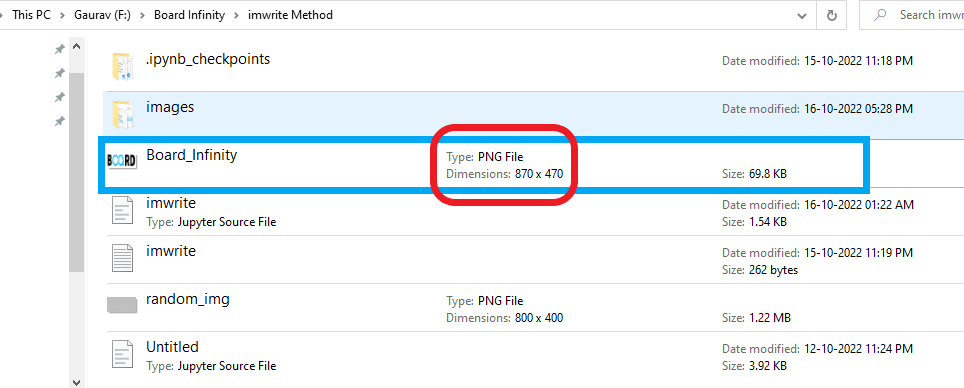
As you can see in my current directory I have only one image with the name Board_Infinity.Png. We will work with this image for our scenario.
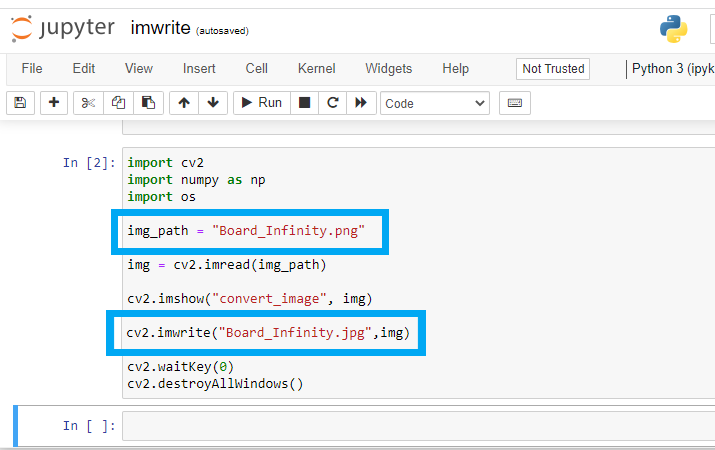
Step 1:- To work with this image we’ll first read that image by providing the path to a variable img_path and then read the image using cv2.imread().
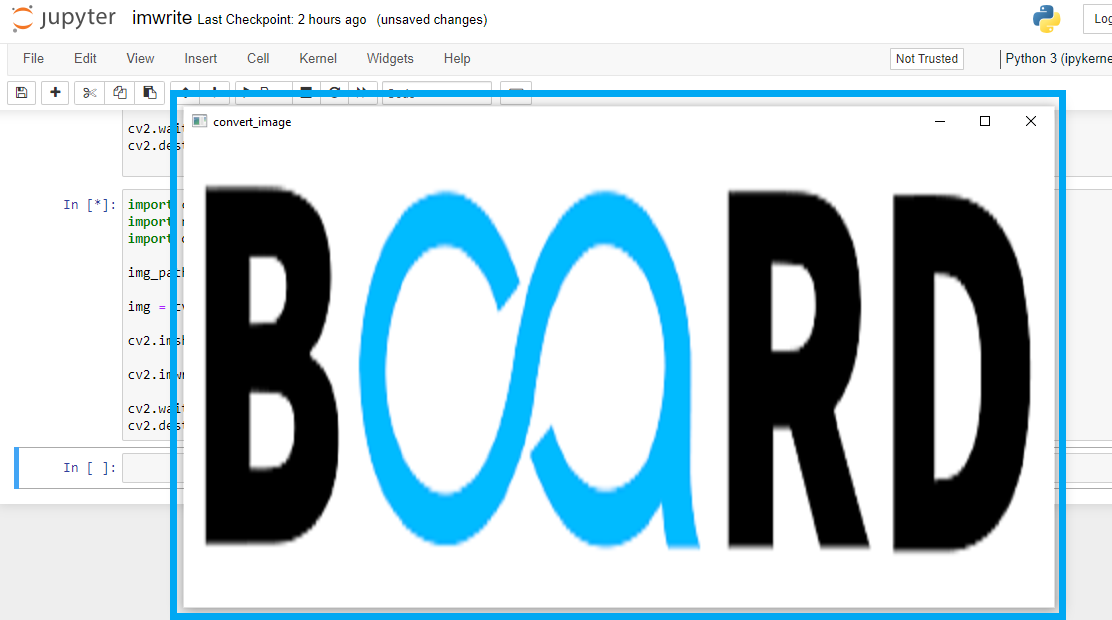
Step 2:- now we’ll use cv2.imwrite() to show our output image with the windows name “convert_image”
After using the above program for our operation we’ll notice an output window with a name.
To verify that our operation was successful or not we can check our current directory whether our image resides with a different extension or not. Below image shows that our operation was successful.

This method is also used to store the image from a video as per the frame rate used in that video and store it in your system. We can use image extension conversion applications.
Code:-


0 Comments